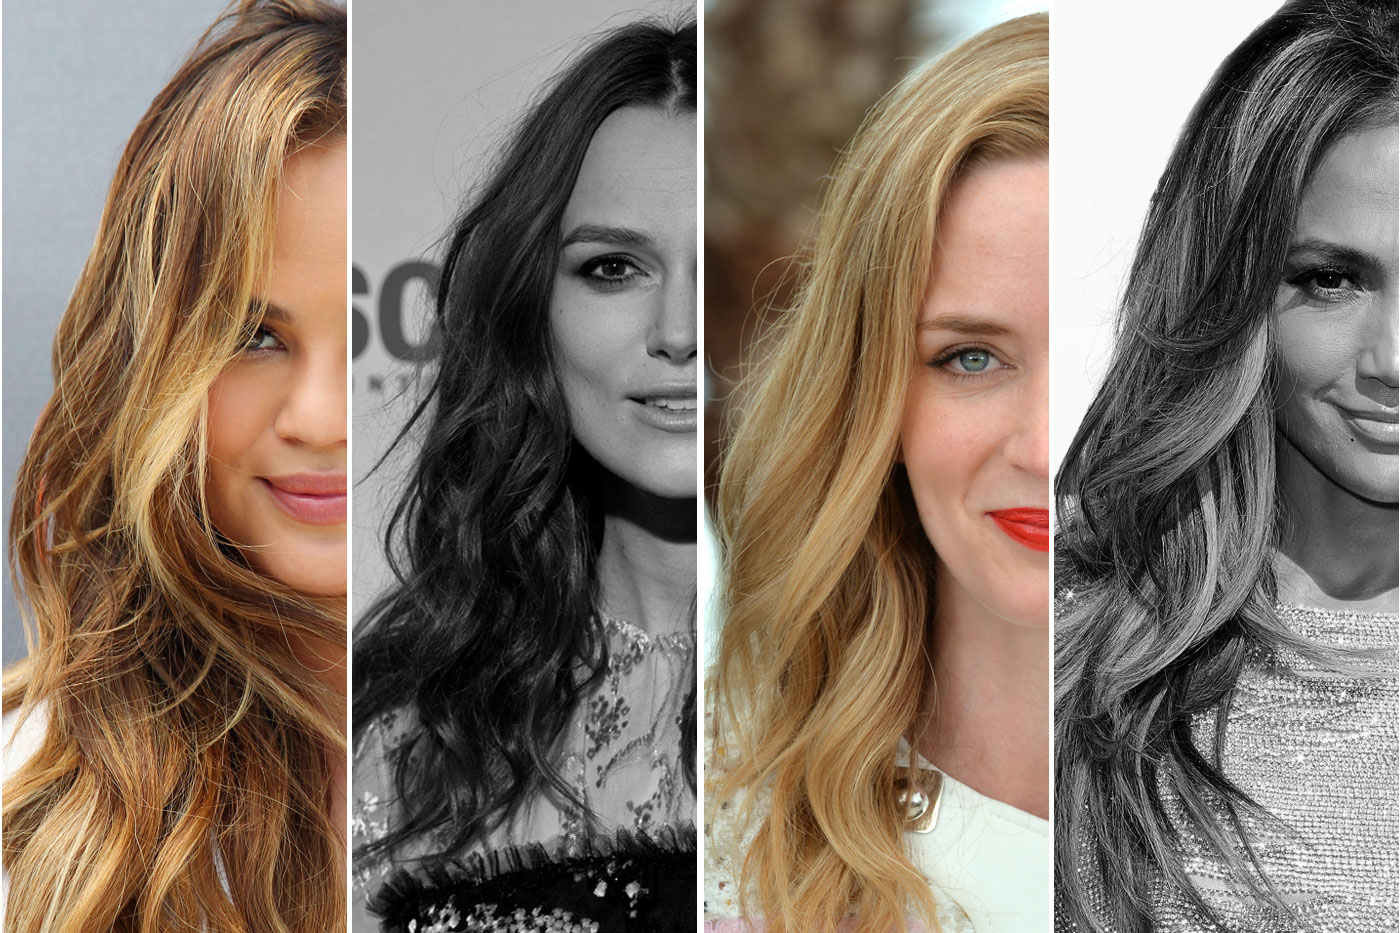
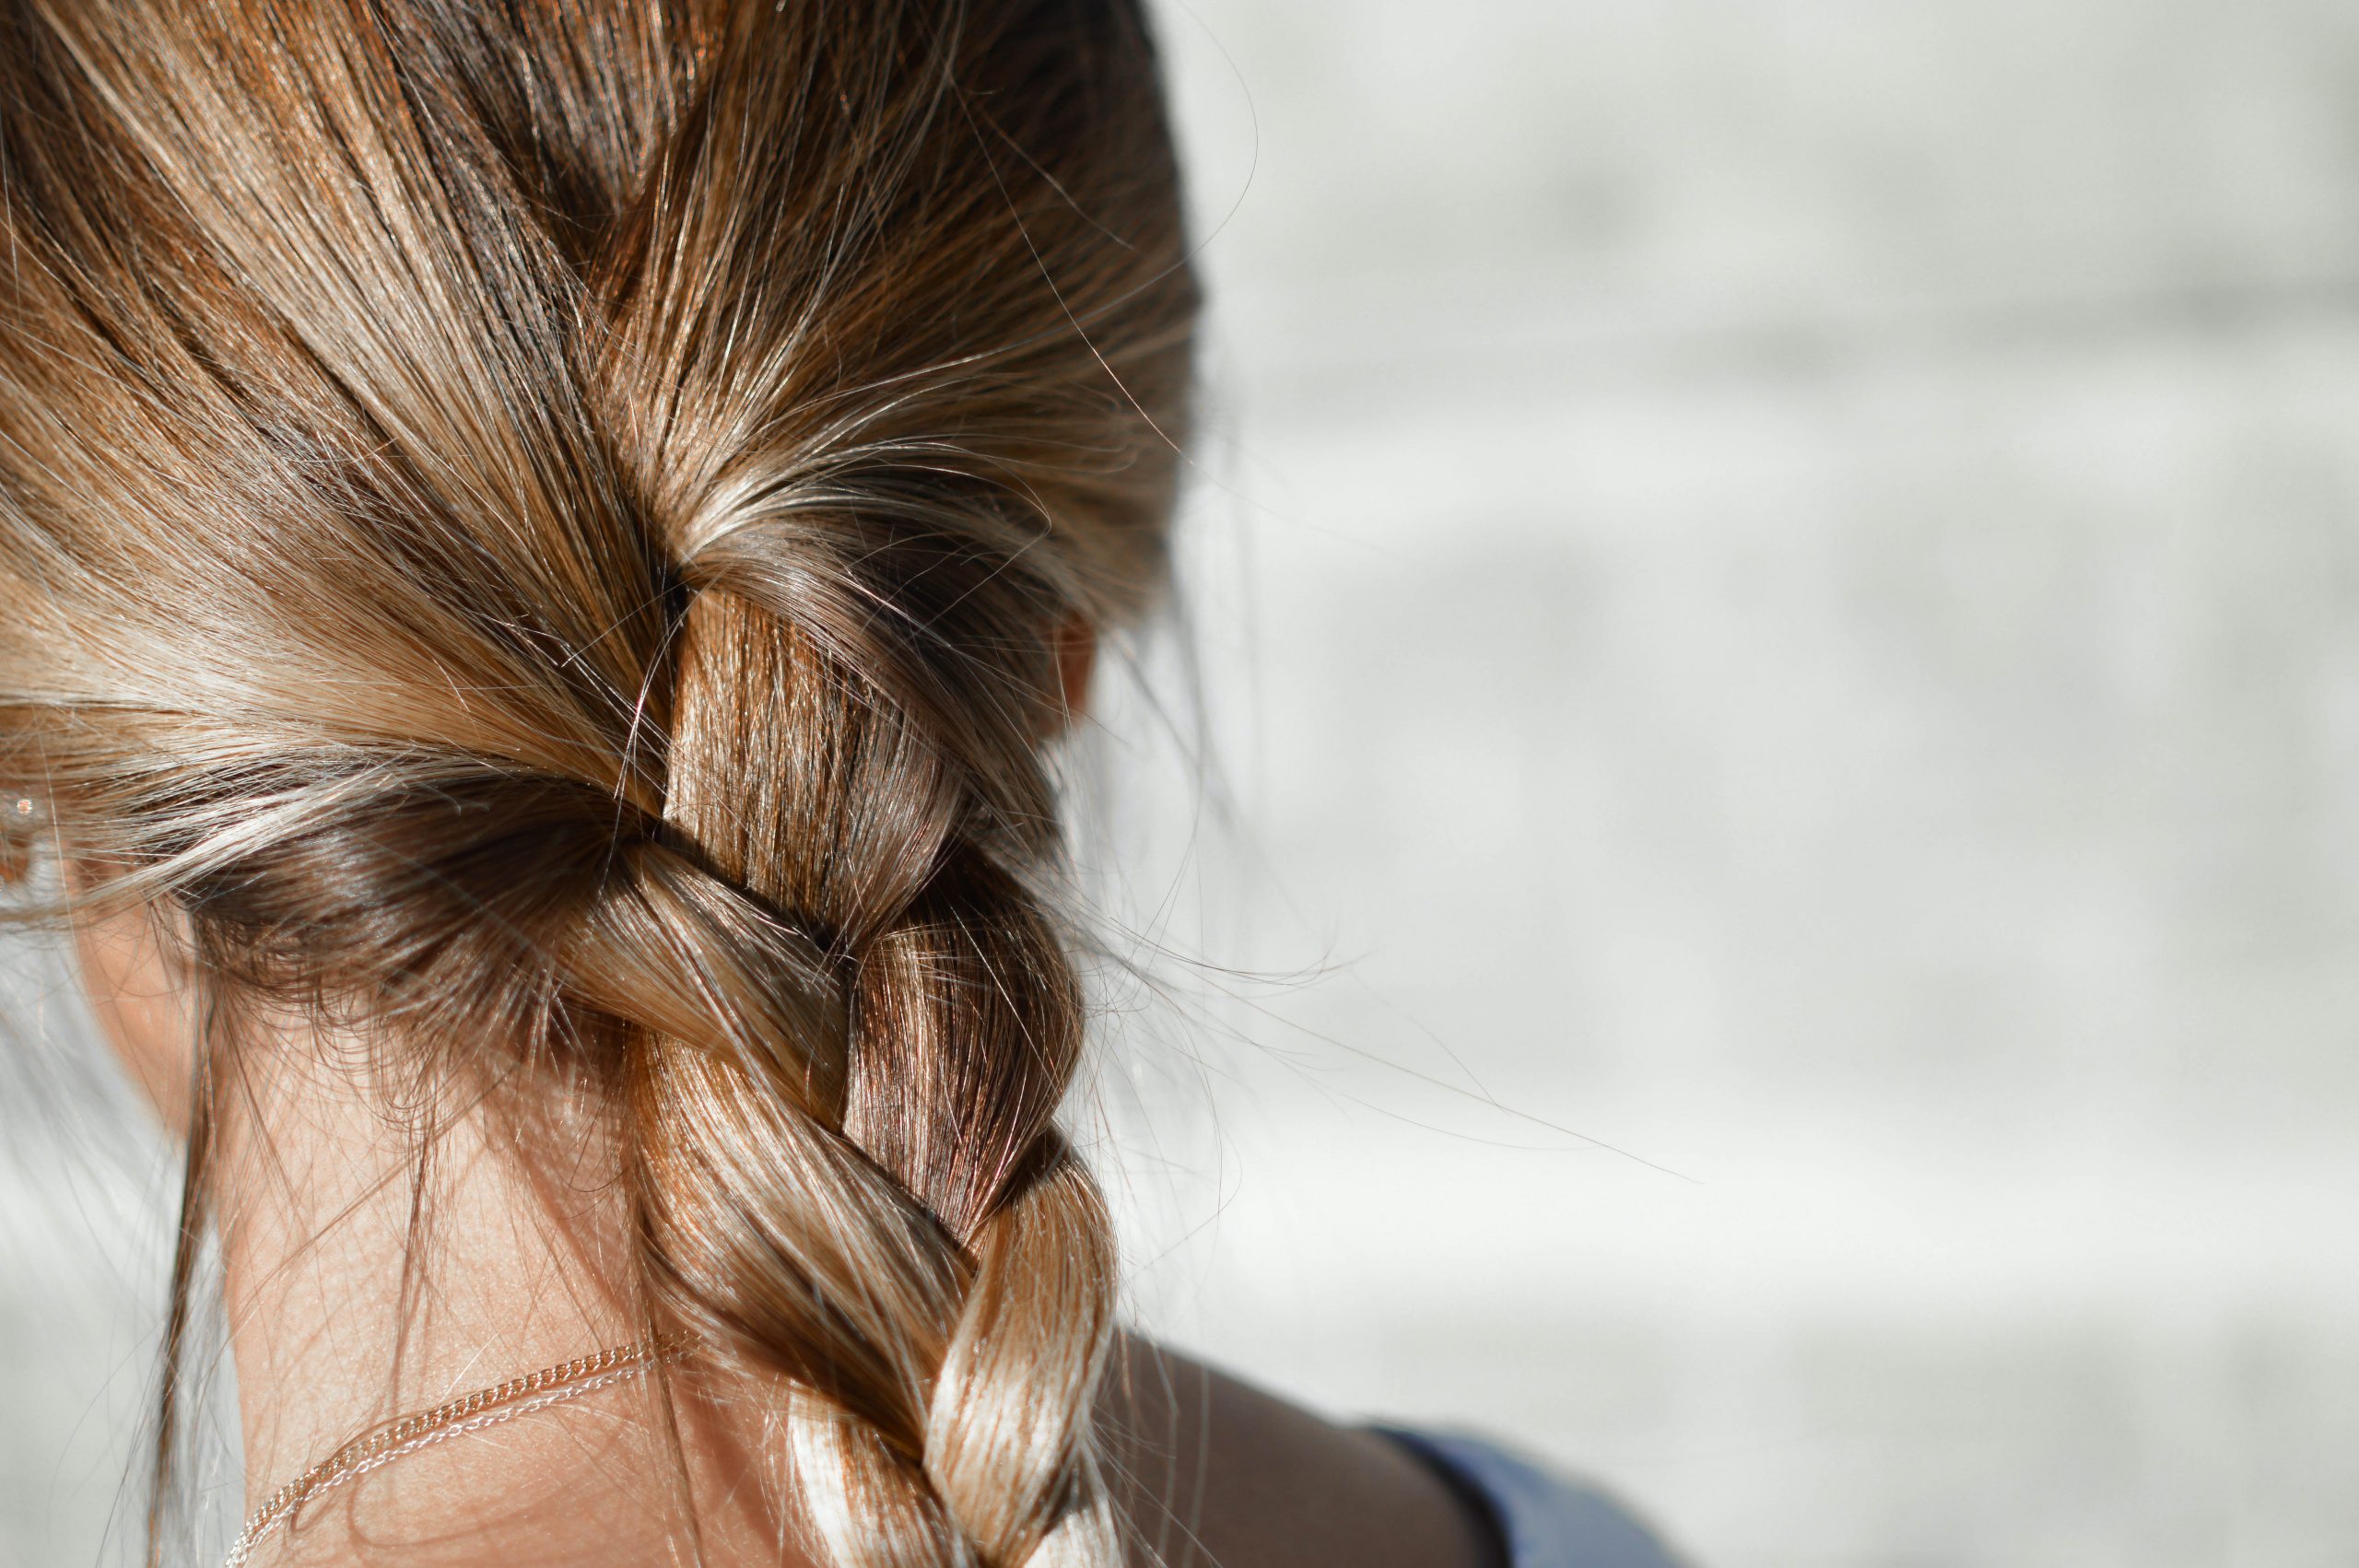
Listen, you don’t need to be Brigitte Bardot in the 60s on the coast of “Le Midi” to emanate beach waves hair prowess.
Nor Gisele Bündchen, or Chrissy Teigen. In fact, you don’t need to be a celebrity to own this perennial hairstyle.
Beach curls might be intimidating because we are constantly seeing celebrities prancing them on the red carpet.
The effect is that we are given the impression that there is an entire team of hairstylists buzzing around them.
And there might be, but just so we reinforce the image, beach wave hair originates from…well, the beach.
The combination of sea salt, sun heat, water, and the wind gusting, results in the famously its-supposed-to-seem-unkempt look.
But no worries, you don’t need to be anywhere near the beach to achieve the perfect beach waves hair.
We will teach you how to recreate the effects of these natural elements on your own.
And if you still find yourself at the beach, you might want to check out how to properly protect yourself from the UV rays with our guide on sunscreen application.
The good part is that you don’t need to be a professional, nor have professional equipment, to achieve the “perfect” beach waves hair.
The whole point is that it shouldn’t seem like you invested too much effort in it. You know, the whole #wokeuplikethis story.
With polished being the last thing you want to look, here’s a list of our top tips on how to embody the “I just spent the last 2 weeks surfing” vibe.
Beach waves hair with a curling wand
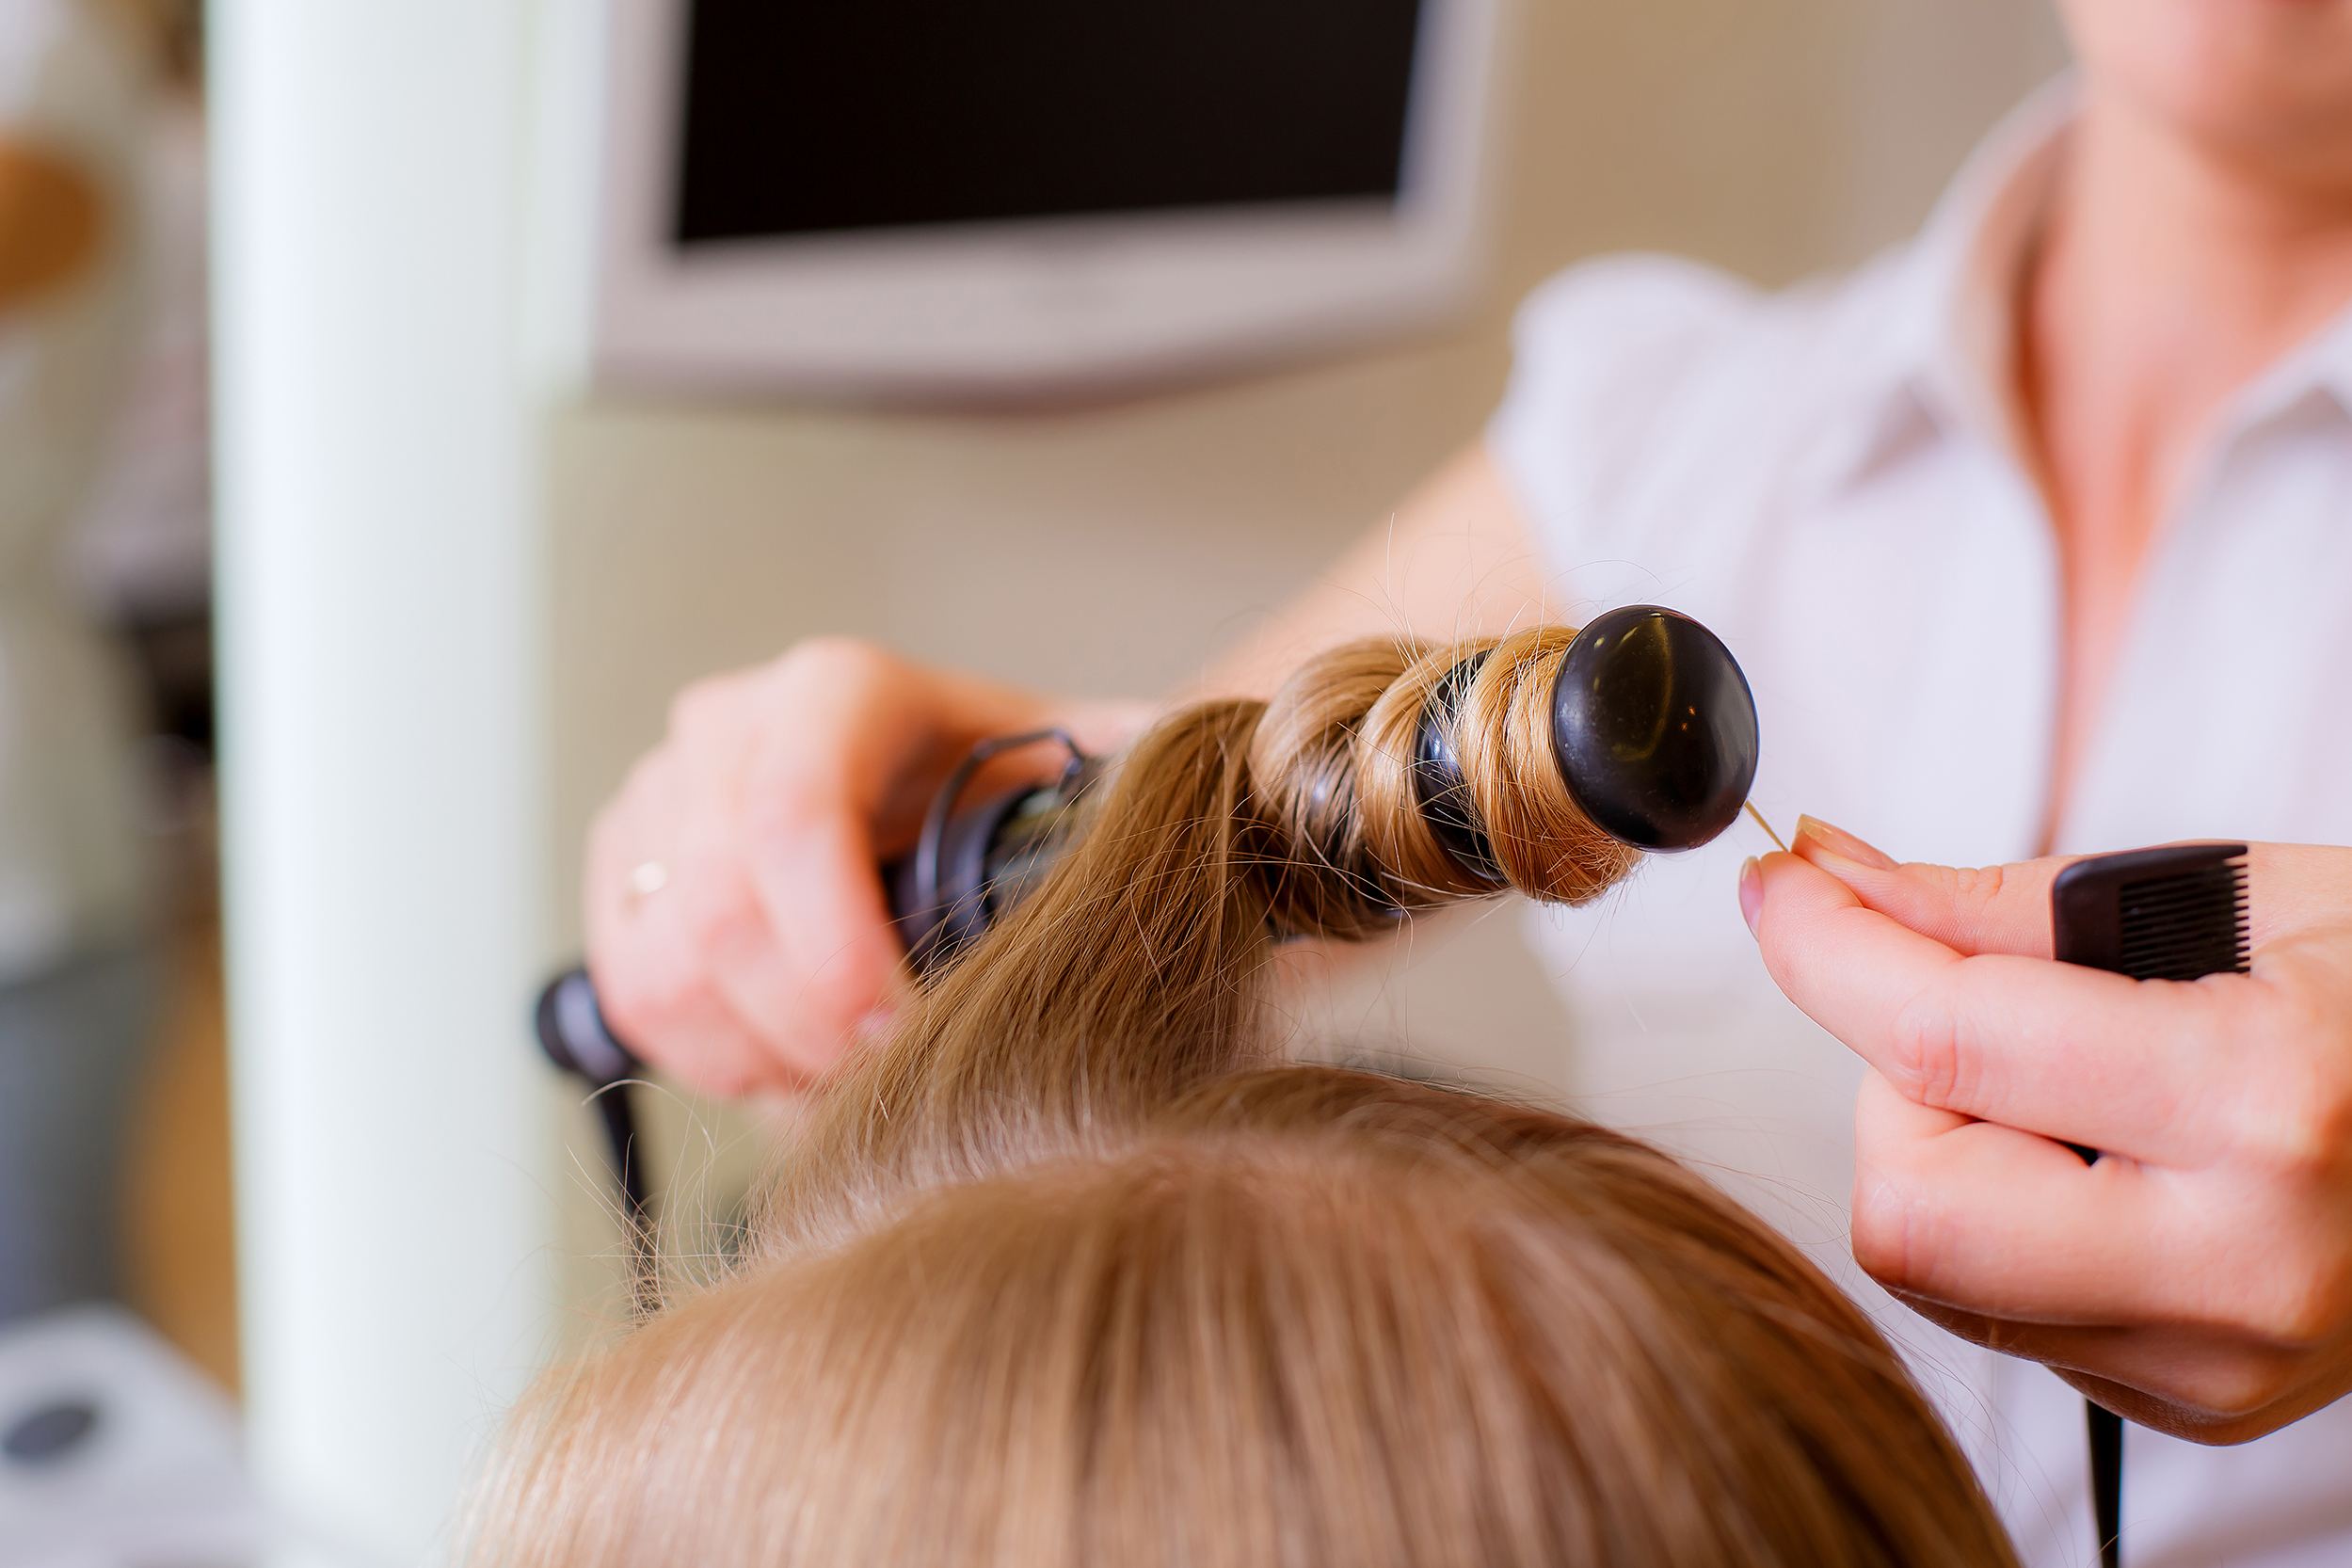
First off, let’s examine our options in terms of curling tools. The curling wand is the most popular when it comes to beach waves hair.
Why? Because the product is technically conceptualized and designed to make the job as easy as possible.
Look for a wand with a 1-inch diameter, to match the size of each strand you are about to curl. It doesn’t need to be perfect or uniform, just make sure that there’s continuity in the transition from one strand to another.
Indifferent of how healthy or resistant you think your hair is, it is mandatory to use a heat protector spray.
Not only for your beach waves hair, but whenever you’re using heating tools.
Every hair is different and applying the right products for your hair type is pivotal to its health and regenerative functions.
We also have a comprehensive guide on how to tackle hair loss, so your curls can be as plentiful and eye-catching as possible.
After applying the heat protectant, comb your hair to ensure the product protects your hair uniformly.
Next, section your hair and start from the back of your head, making your way up to the front. Wrap a 1-inch strand of hair around the wand and away from your face.
Repeat the process until your whole hair is covered, leaving the ends uncurled. Comb through your hair again with a wide tooth comb to spread the strands out.
Finally, apply a texturizing spray and/or sea salt spray for volume and definition.
Avoid any cream-based products at this point so as to not apply too much weight on your curls. Voila! This is suitable for thin and rich hair alike, from short pixies to waist-long hair.
Tip: Since you are not supposed to curl the ends of your hair, instead of sectioning every strand you can tie your hair up. Once up, curl each strand separately, as it will be easier to delimit them in this position. You’re welcome.
Flat Iron for flattering curls
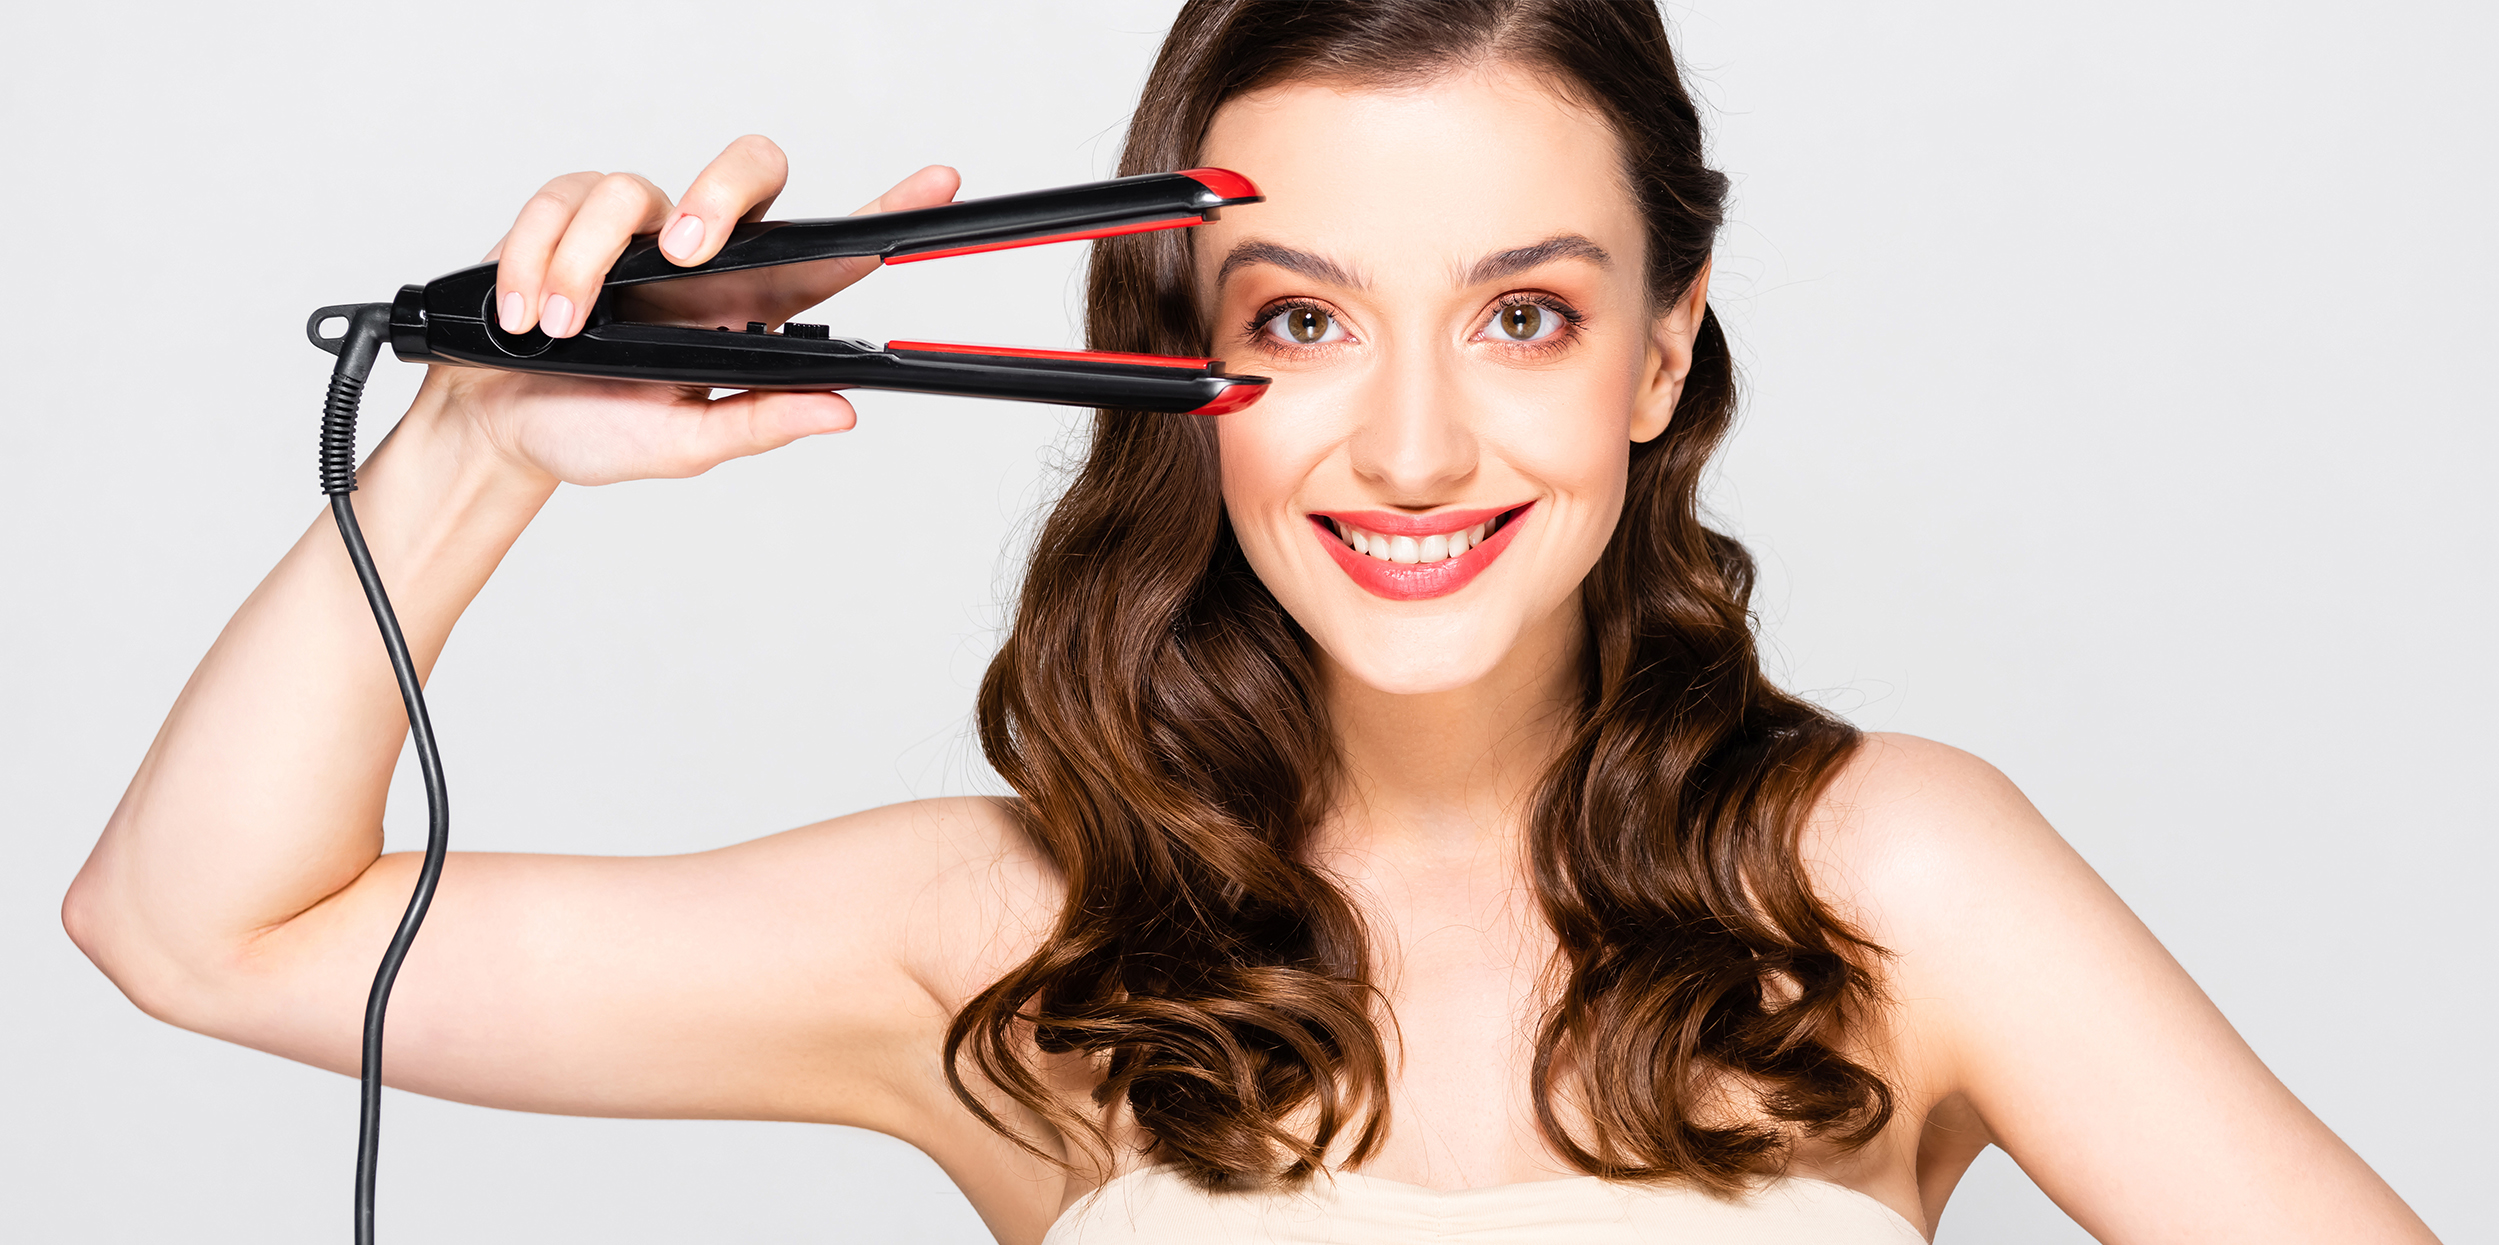
It might sound counterintuitive, but you can get exactly the same bouncy beach waves hair with a hair straightener.
The trick is to be a little patient and get the gist of the movement. Once you’re there, you have a two-in-one product that you can use for any occasion.
Again, you always want to start by spraying heat protectant into your hair to avoid any damage. If your hair is naturally curly, you should start by straightening it out a bit, just to make it easier to style.
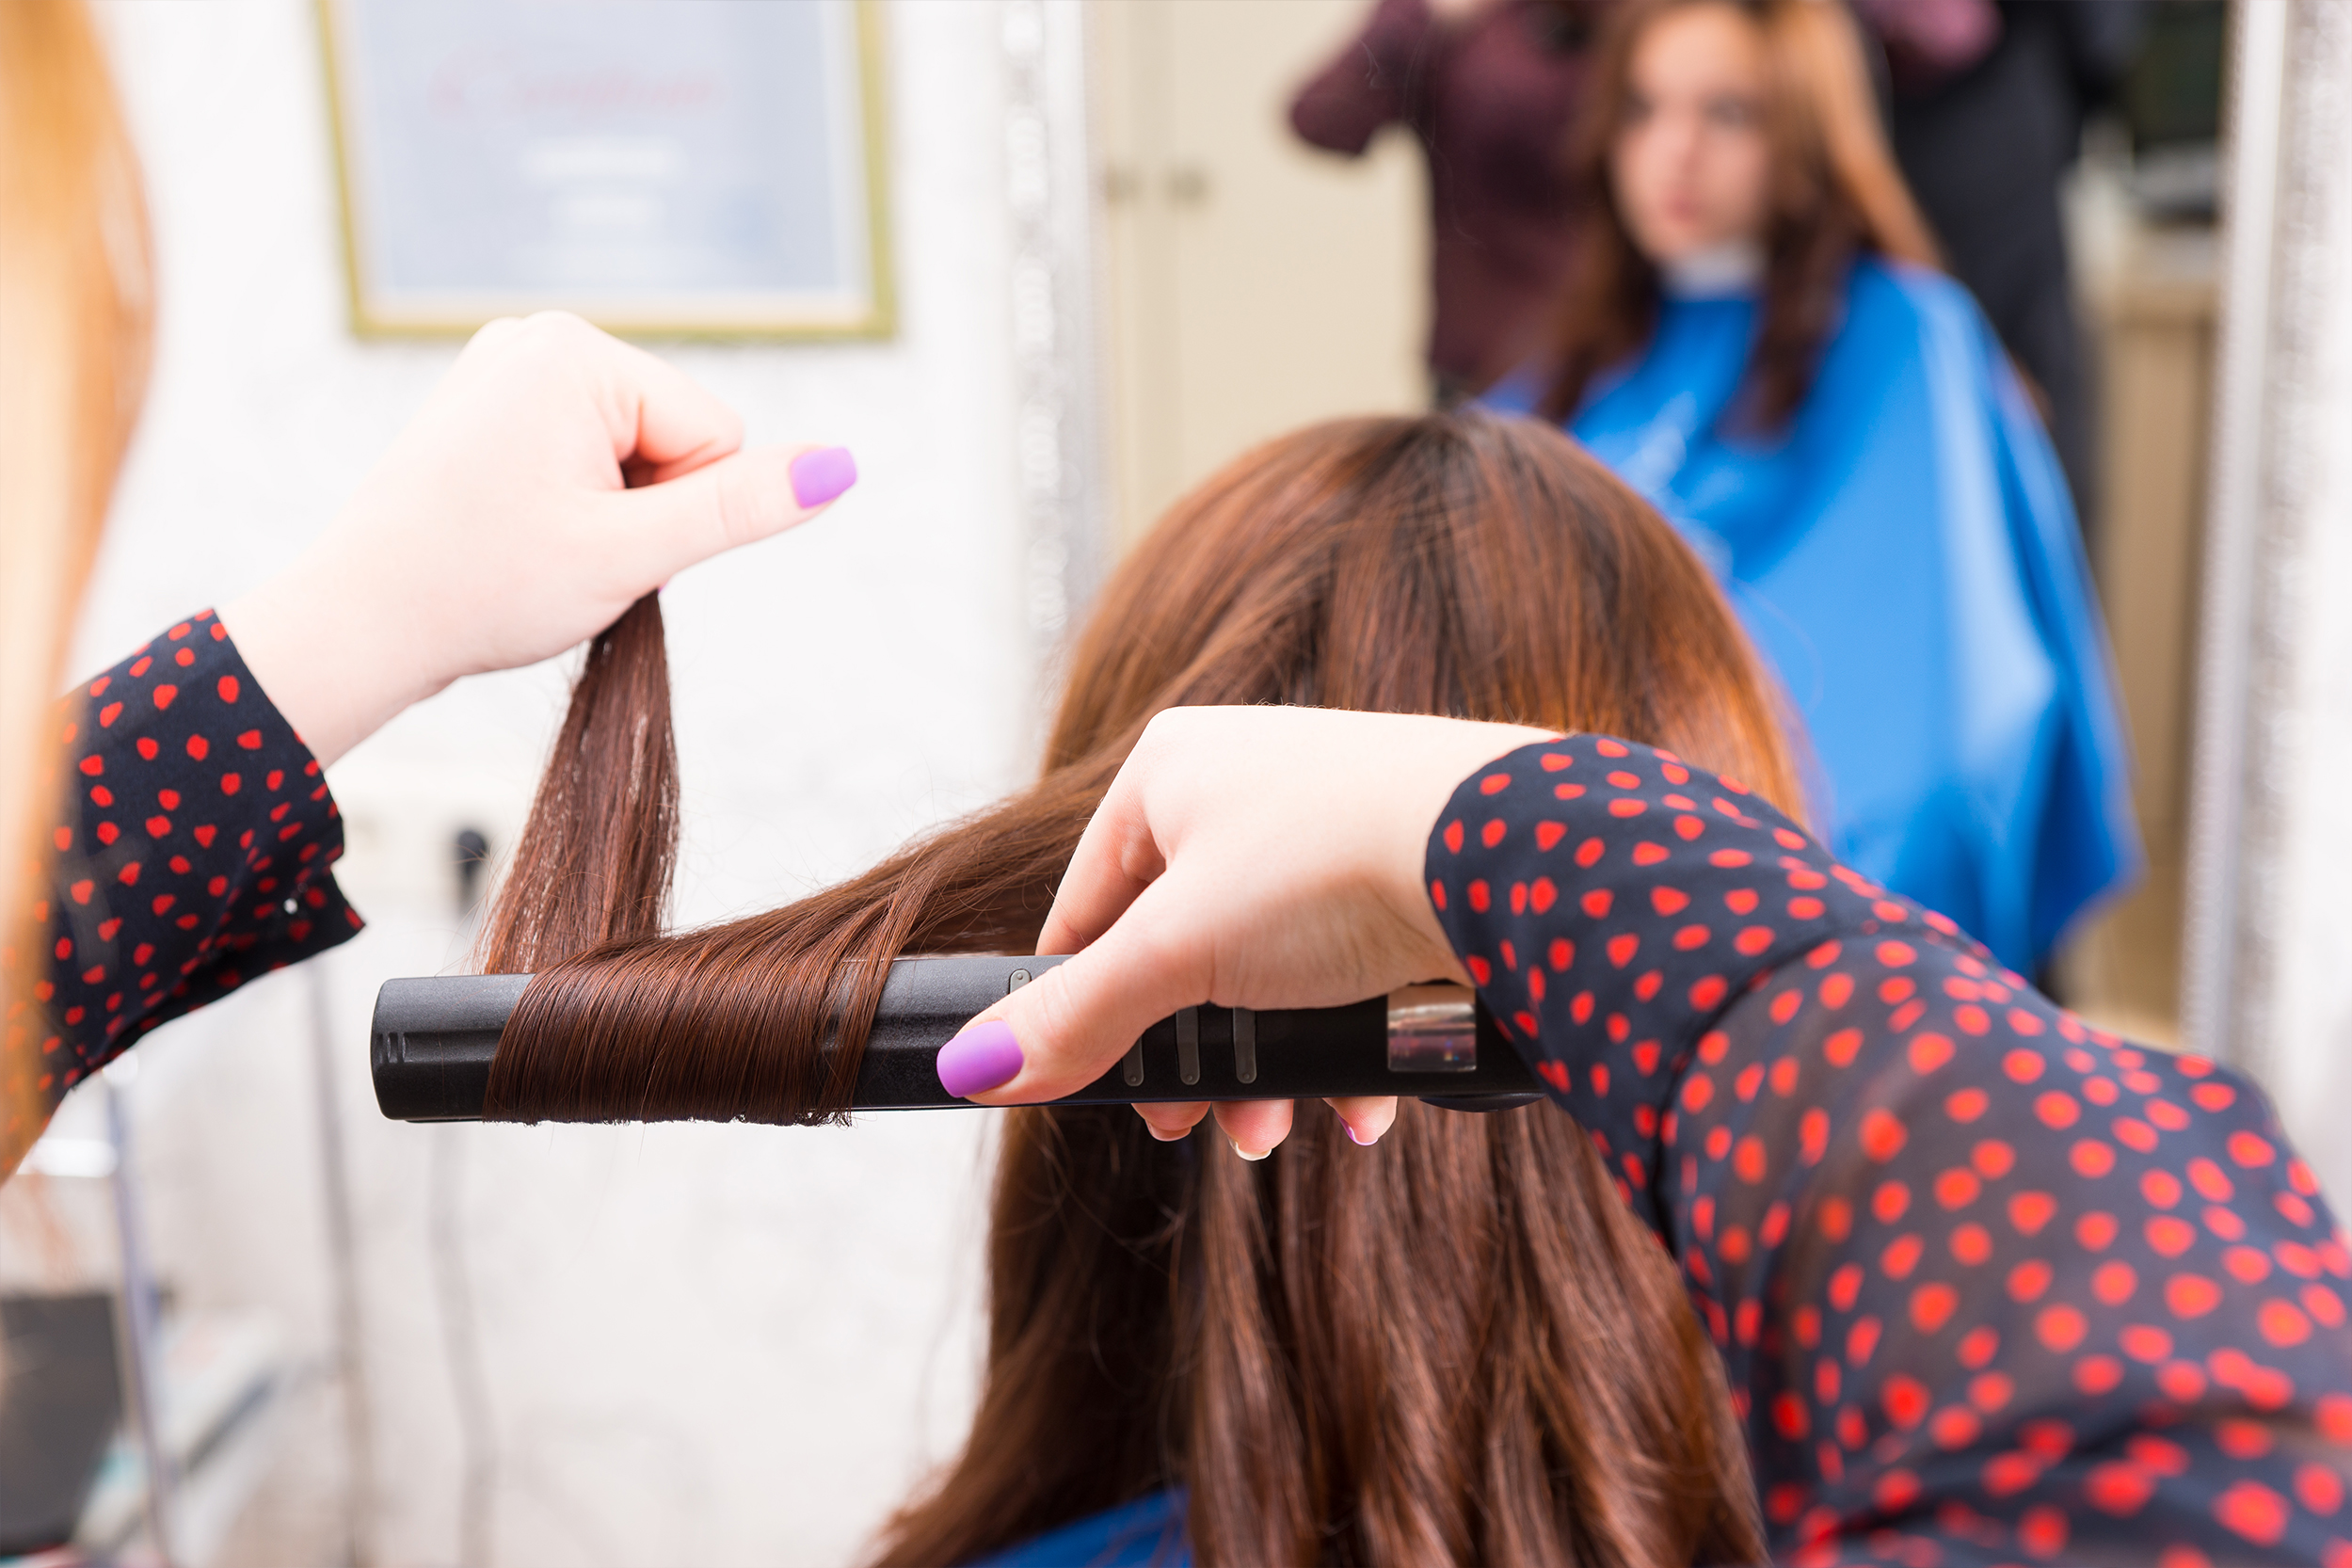
Then you want to take a 2-inch strand of hair (close to the roots) and place it between the iron’s plates.
Wrap the remaining portion of the strand out, twist the iron away from your face and carefully glide down until the ends.
Run your fingers through each curl to break them apart and finish by applying your chosen texturizing product.
Tip: If you still find this method too complicated, don’t throw away your flat iron just yet. You can create beautiful S-shaped curls that have just as much personality. You just need to take your flat iron and place a strand of hair between the plates.
This time you no longer need to twist.
This is more of a bent-like motion where you bent the iron towards your head for a few seconds, then as you are gliding down, you want to bent it away from you; the next portion again towards you and so forth.
It’s an inward-outward wrist movement that recreates the letter “S”.
Trust us on this, it’s the same effect with less twisting and wrapping and pulling. Finally, apply your regular after-care products and your beach waves hair is good to go.
How to get heatless beach waves hair
If you don’t have any heat styling tools or simply don’t want to overcomplicate yourself with the twists and twirls of the heat curls, there are always alternatives.
The heatless version of beach waves hair involves relying on overnight prepping rather than the high temperatures of styling tools.
It’s ideal if you have a few spare minutes before going to bed and you want to avoid the long-term damaging effect of heat on your hair.
Below we present 3 popular and proven ways to achieve the scruffy, laid-back beach waves curls.
Braid it
Noticed how whenever you braid your hair, you are actually enjoying a few more days of styling long after the braid is gone? That’s exactly the effect you are looking for, only with a few touch-ups.
Start with your clean, damp hair and apply a moisturizing cream or leave-in conditioner.
Next, blow-dry your hair upside down until it’s almost completely dry. If you don’t dry it enough, you risk waking up with your hair still wet and no curls whatsoever.
You can tell it is the right level of dampness if your hair looks dry but feels damp to the touch.
At this point, it’s optional whether you want to apply hairspray for your curls to last longer or not.
Then you need to keep your hair upside down and start braiding a 3-strand braid right from the top of your hair.
Here you want to make sure that the braid is not too tight at the roots, otherwise you will lose volume. Continue braiding all the way down your hair length and tie the ends with an elastic. Leave overnight.
Next morning, you can gently unravel your braid by going your fingers in and breaking the strands apart. This is the part where you will know if your hair was too wet or too dry when you started braiding.
If your hair is flat, it means that it hasn’t been dried sufficiently and you have to redo the process.
If the result is almost not curly at all, then it was excessively dried up the night before.
When it’s just right and you can see and feel your curls bouncing, you may want to apply some volumizing textured spray for maintenance.
Now you can flaunt that beach waves hair even at the office.
Headband beach waves hair
All you need for this method is your hair and a fabric headband. Similarly to the braiding method, you want to make sure that your hair is damp enough to facilitate the twisting.
First you want to section your hair into two equal parts.
Place the headband onto the top of your head, hippie-style. Pull the hair down if you notice the headband’s squeeze pulling your hair up.
Once you make sure that the headband stands still, you have to take one of the two strands of hair and twist.
As you’re twisting, you need to grab the hair and wrap it around the headband, starting from your ear.
Repeat the cycle with the remaining part of hair and tuck the very ends inside the headband.
When you’re done it should resemble the wacky version of the highly polished Greek goddess hairstyle.
Apply a generous amount of hairspray at the back of your head, right where the twirls are. This is to create that high definition and make sure the curls are set in place.
As for the final stage, you have different options, depending on the amount of time you have on your hands. You can either leave it overnight or simply for a couple of hours and blow-dry it.
Either way, you will achieve approximately the same fabulous beach waves hair.
When you are ready for the big reveal, you only need to unwrap both sides of your hair from the headband.
For the final touches, you can texturize your ringlets with a styling spray. You can now flaunt your effortless, heatless beach wave curls.
Sock curls
Yes, you read it right. We’re trying to teach you how to curl your hair with socks. Yes, the ones that usually go on your feet.
We’re not the type to recommend something just for the taste of controversy, which is why we can swear by this method.
Why? Well, because it’s the latest TikTok trend that actually works, and if it works, then there’s no cost in trying.
And speaking of cost, some people’s hair gets the Dyson Airwrap £500 treatment, while other people’s hair gets the £3 sock treatment.
You can always achieve the same (or similar) results with less if you are open to get down to it. If you’re still reading, then let us guide you through this very straightforward process.
Steps:
First, you need to section your hair into 4 parts and procure 4 socks that are approximately the same length as your hair.
Note that as with all the previous heatless stylings, you need your hair relatively damp.
Then you need to clip a sock to the top of your hair.
You now have to take the first two strands and criss-cross them around the sock, forming an “X” pattern.
Wrap the hair around the sock all the way down and tie it at the end with an elastic. You can take the clip down at this point and you will notice the sock will stand on its own.
Repeat the same steps with the 2 strands left on the other side and leave them overnight.
In the morning, gently unravel each section and style with your favorite texturizing products. I
t’s an affordable and effortless alternative to expensive and oftentimes intricate tools, that promises that tousled, purposefully undone aspect.
Although this is just now trending on different social media platforms, sock curling dates back centuries ago, when people would improvise with a variety of fabrics to achieve different types of curls.
Don’t let the perceived ridiculousness of the concept discourage you from trying. It’s handy, fun and deliver some enviable results on beach waves hair.
Takeaway
All in all, whether you know your twists and turns with the flat iron or you are down to adorning your hair with socks, beach waves hair is a timeless hairstyle that suits every texture and hair length. From thin bobs to lavish manes, from the red carpet to a bowling night out, beach curls complement your look for any occasion.
What do you think of our tips? Comment below and tell us if you tried any of the nonconventional curling methods.


